How to Bookmark Links
How to Bookmark Links
Introduction
Bookmark links leverage a lot of work. Say you are writing a series of articles. You can link research and images you want to use without importing and bloating the Scrivener file size. If you work with a lot of research and graphics but feel unsure about which will apply to the final document, bookmark link that content. It will follow your documents as they develop.
You can link to the Internet, files on your computer, and even other files within your Project.
Mini-Tutorial
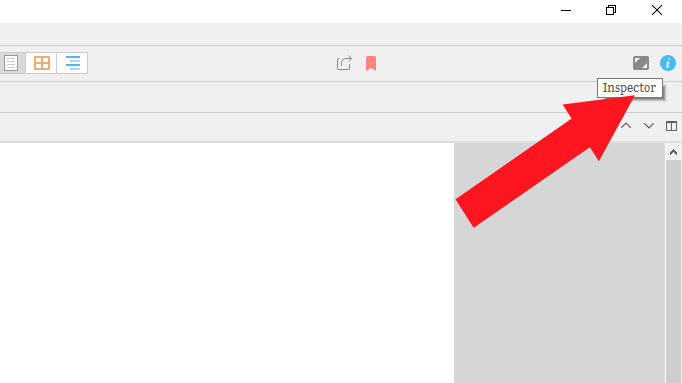
- In the upper right of the program, click the Inspector, the blue circle icon with an “i”. This opens a panel along the right side.
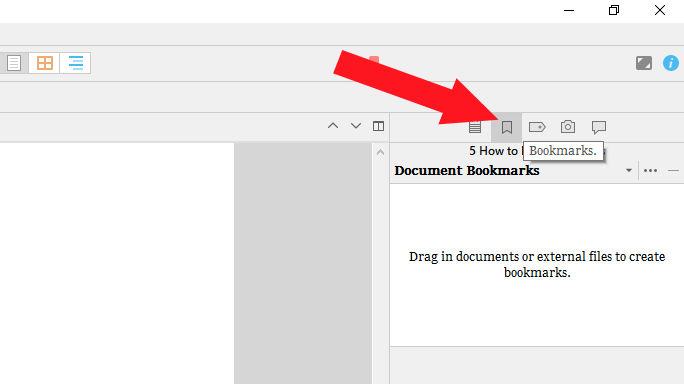
- At the top of the Inspector, click the ribbon-shaped Bookmarks tab.
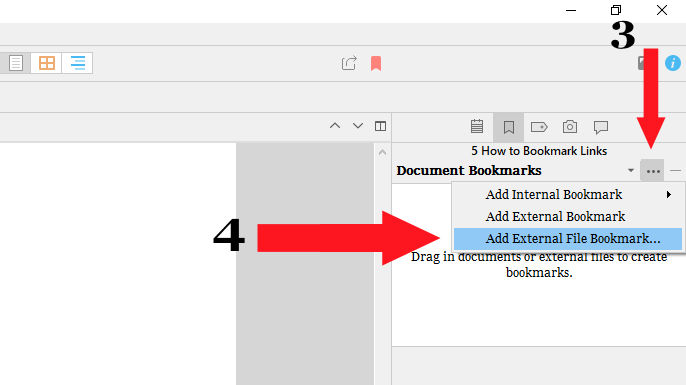
- On the right of Document Bookmarks, click the … to open the drop-down menu.
- Click the location of your designed linked content. I chose Add External File Bookmark… to use a file on my computer.
- Select your file if you're using a file, and click Open to complete the link. Now whenever I use the specific Scrivener document, my linked document will appear in the Inspector.
|
Conclusion
That’s how to bookmark link resources that attach to your Scrivener documents. This simple feature comes with many possibilities depending on your project, but will always keep your interrelated work visible in one place.
Next, in a mini-tutorial, you will learn how to work in the Editor while viewing notes and outlines with a split-screen. This feature’s value speaks for itself, and is one of the most obvious differences between Scrivener and traditional work processors: you can instantly view different sections of your work in the same program.
Created with the Personal Edition of HelpNDoc: Easily create Help documents